Plugins are tools to add extra features to a WordPress site, created by many people and companies in the WordPress community. This guide will show you how to install plugins on your website.
In this guide
A WordPress.com website has many more built-in features than a self-hosted WordPress site, meaning you won’t need a plugin for many common features. Before installing a plugin, check this list to ensure the feature isn’t already available on your site.
All WordPress.com sites include:
- Security protection
- Akismet (advanced anti-spam protection)
- Essential SEO (Search Engine Optimization)
- WordPress.com stats (our version of Google Analytics)
- Content Delivery Network (CDN)
- Contact forms
- Email subscriptions
- Commenting (including comment likes, user mentions, notifications, and more)
- Galleries (plus tiled galleries, slideshows, and more)
- Content Carousel
- Payment buttons
- Paid Content block (restrict content to paying subscribers only)
- Social media sharing buttons (add social media buttons to your posts and pages)
- Donations
- Exports (create a backup of your site’s contents)
- Imports (supporting many popular platforms)
- Infinite scroll
- Related posts
- Likes
- Embeds (display content from popular platforms)
- Event Countdown
- Eventbrite Events
- Polls
- Duplicate Posts & Pages
By adding a WordPress.com plan to your site, you can take advantage of these additional features:
Personal Plan
- Use a domain with SSL
- Audio uploads (including podcasts)
Premium Plan
- Everything included in the Personal plan
- Google Analytics
- WordAds advertising
- PayPal buttons
- Video uploads
- CSS editor
- Appointment bookings
- OpenTable block (restaurant bookings)
Business Plan
- Everything included in the Personal & Premium plans
- Advanced SEO
- Automated site backups and one-click restore
- Staging sites
- Install plugins
- Upload third-party themes
- Add custom code (JavaScript, iframe, and more)
- SFTP, SSH, and database access
In addition, our Commerce plan includes all the above free & paid features plus everything you need to run an online store.
Many third-party companies offer WordPress services that WordPress.com site owners can take advantage of. Keep in mind that many features offered by companies like Cloudflare, Sucuri, and others are already built into WordPress.com plans, including speed optimization, caching, web analytics, security, SSL, and CDN. Before investing in a third-party service, check to make sure the feature isn’t already included with your WordPress.com site.
This feature is available on sites with the WordPress.com Business and Commerce plans, and the legacy Pro plan. If you have a Business plan, make sure to activate it. For sites on the Free, Personal, and Premium plans, upgrade your plan to access this feature.
Once you have chosen the best plugin for your needs, you can install it on your website by following the steps below.
Select the appropriate tab for your admin interface style:
- Visit your website’s dashboard.
- On the left side, click on Plugins.
- Scroll down to discover popular plugins, or use the search box to type the name of a specific plugin or feature you’re looking for.
- Click on a plugin name to read about it – what functionality it provides, how it works, and how to adjust its settings.
- Check the following information about the plugin:
- Ratings: This shows feedback from customers who installed the plugin. A low rating may indicate other site owners have not had a good experience with the plugin.
- Last updated: A recent date indicates that the plugin is actively supported and worked on. Avoid plugins that have not been updated in a long time.
- Active installations: A high number indicates a popular and well-supported plugin.
- Tested up to: Ensure the plugin is compatible with the version of WordPress you are running. WordPress.com sites always use the latest version automatically.
- If you are happy with the plugin, click the “Install and activate” button to add it to your site:


We offer a selection of carefully chosen premium plugins in the WordPress.com Marketplace, highlighted on the Plugins page. Click the “Browse all” link to view all available premium plugins:

To purchase any premium plugins in the WordPress.com marketplace, follow these steps:
- Visit your website’s dashboard.
- On the left side, click on Plugins to access the marketplace.
- If you’re using WP Admin, you can access the marketplace from the left sidebar, under Plugins.
- Click on your desired premium plugin or click “Browse all” to view all premium plugins available.
- Click the “Purchase and activate” button to install the plugin on your site. Above the button, you can select between monthly and annual billing:

- On the checkout screen, complete your purchase. The plugin will be installed and activated, ready to use on your site.
As with all WordPress.com subscriptions, any premium plugins you purchase can be managed from the Purchases section of your account. Learn more about how to manage your purchases.
Some plugins may not appear in the plugin search results described in the previous sections. In these cases, you can obtain the plugin directly from the creator’s website. Typically, you will receive a ZIP file that you can upload to your site to install the plugin.
Select the appropriate tab for your admin interface style:
- Visit your website’s dashboard.
- On the left side, click on Plugins.
- In the top-right corner, click the Upload button:

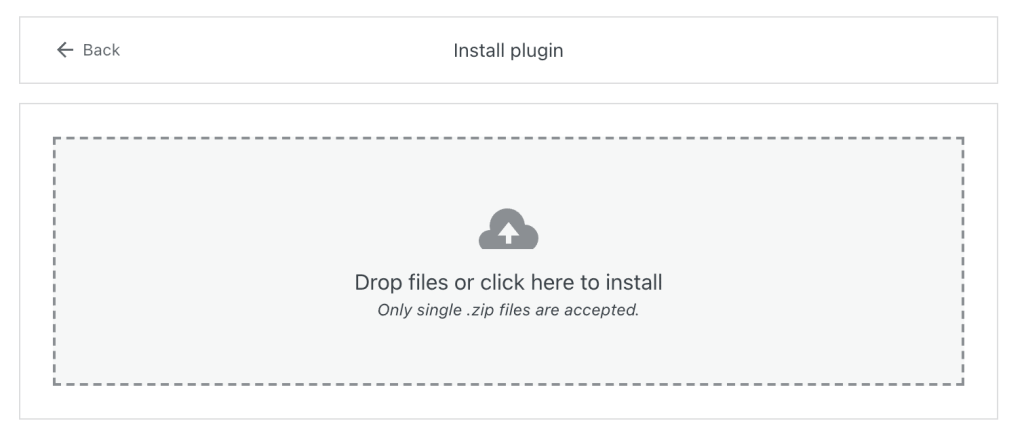
- On the next screen, drag the .zip file into the box or click on the window to choose the file from your computer. Do not unzip/extract the file before uploading it.
The plugin will automatically install and activate on your site. You can then click on the “Manage plugin” button to access the options for this plugin:


You can also install plugins via the Secure File Transfer Protocol (SFTP).
